First Floor Deck
Well, it is time to start the real building. All the rest has been prep for this point. From here on out it should start to really come together and such.
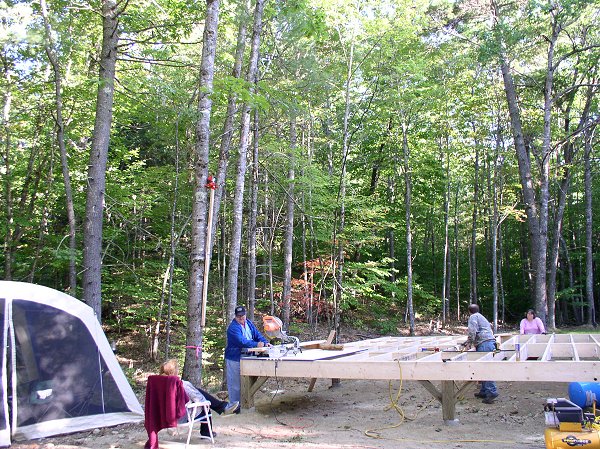
First we had to create our posts that will set on our concrete piers to create the crawl space under the home. This will be an insulated crawl space so that we can have nice cozy warm floors.
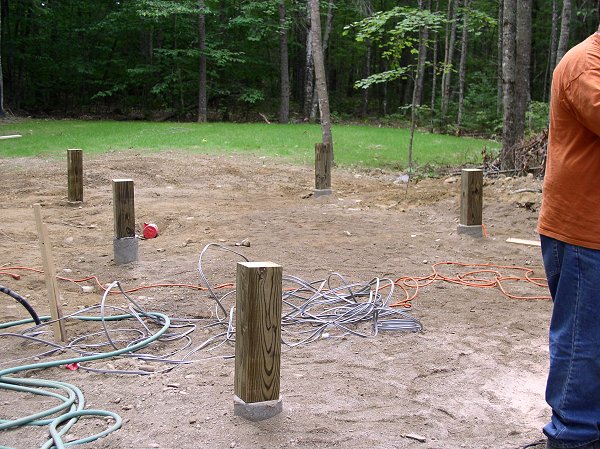
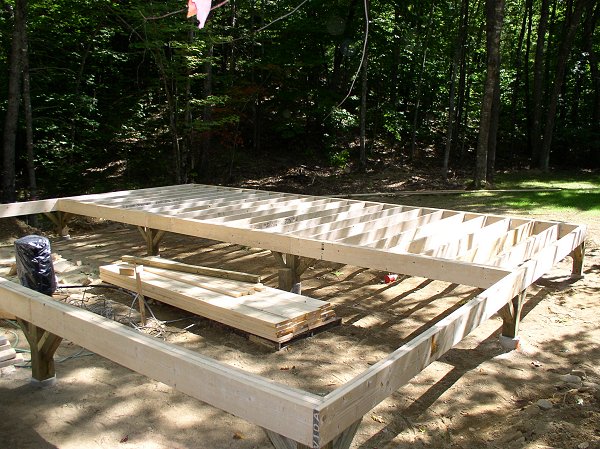
Once that was done and they were all made perfectly level using a water level we could start building the 3 beams that would support our home. Our beams are triple 2x10 with 1/2 fir plywood strips thus creating a very solid beam. Here you can see our first beam in place in the back and the pieces layed out to make up the second beam.
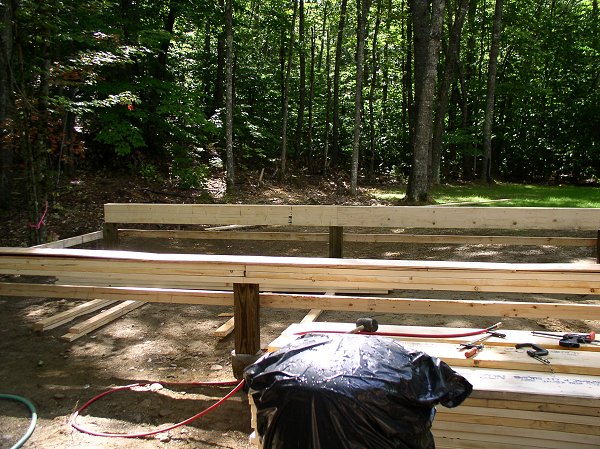
Now all 3 beams are in place and we are ready to start laying out the joists.
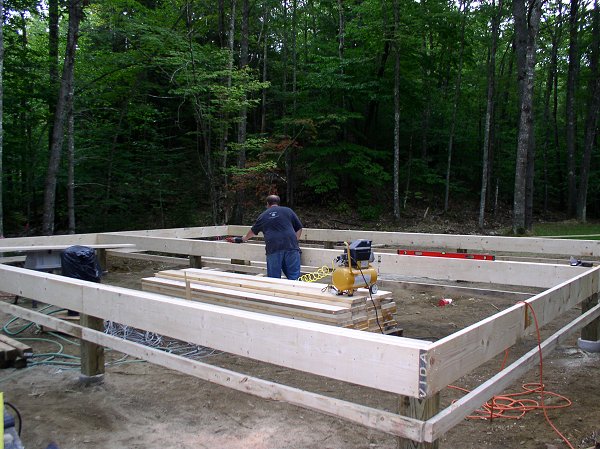
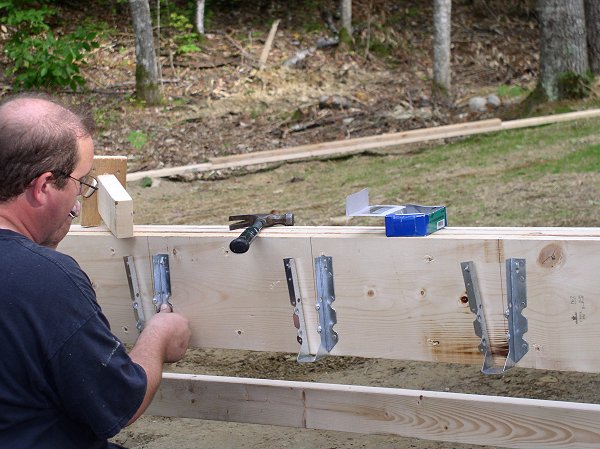
We have layed out our joist pattern and will now add the joist hangers to suport the floor.
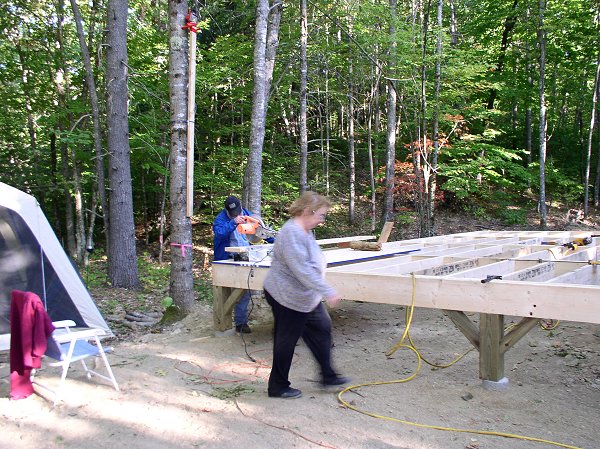
When we layed them out we used a template(can be seen on the beam right in front of my face) to ensure that they all were located correctly. Once I had one nail in I could remove the template to nail the remaining portion of the joist hanger. We leave once side not nailed to ease installation of the joists.
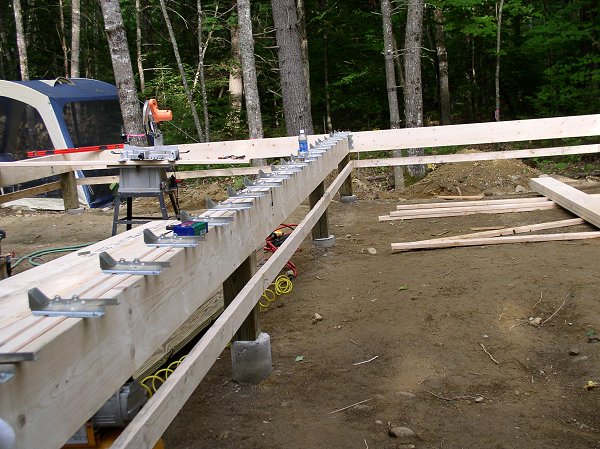
We then cut and installed the floor joists on one side. By the time we got done it was well past dark so had to return first thing this morning to take the pictures of the finished portion.
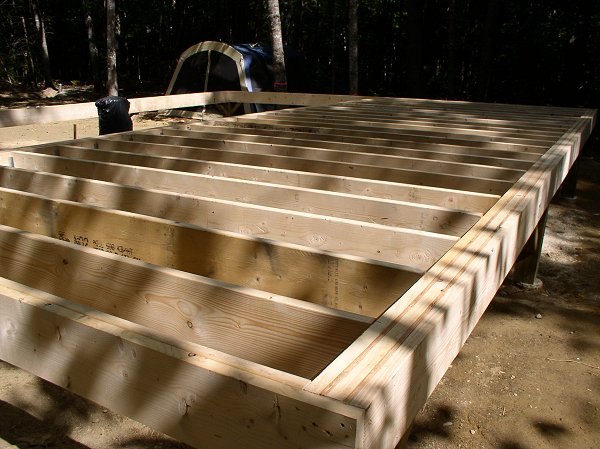
You can also see we have added the diagonal supports which are lag bolted to our support posts and beams. This make for one very solid floor system.
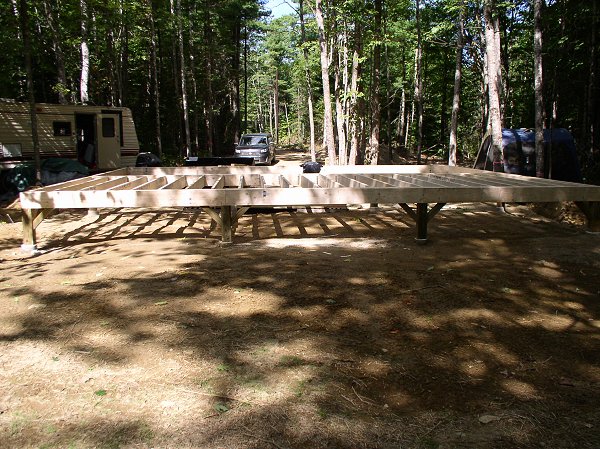
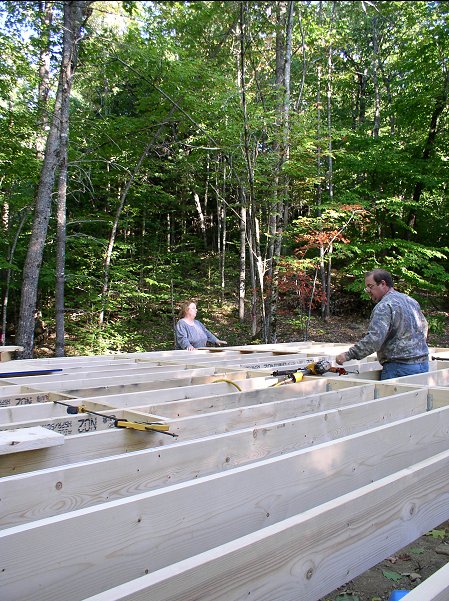
Well we have finished putting all of the joists in place and all joist hanger holes used per spec (what a pain ). After putting the joists in we did check them all before we nailed the joist hangers to the joists just to make sure we did have a nice flat floor. We found about 4 or 5 joists that did have to be trimmed down a bit keep the floor flat. Once that was done to my liking then I nailed, and nailed some more.
We then installed a row of solid blocking(cut from the extra 2x10 we culled from joists material). These were both glued and nailed as well. and started putting in the full blocking. This was both glued and nailed in place. We do not want a squeaky floor at all so would rather spend a bit of extra time and money on using both glue and nails on this part. My wife, daughter, mom and dad got in on this part as well. My wife and daughter would move the alignment strings on either side of the house. I would measure, dad would cut the pieces I needed. My mom would bring them to me( I am stuck in the middle of each row).
I would then glue, clamp and nail each one then move to the next. Took quite a while but we got it done.
Then it was time to do the floor decking. Now we used 3/4" T&G OSB underlayment for the subfloor. That was put down using both construction adhesive as well 8d galv ring shank nails. Yes we used a air nailer as I had no desire to even try to do all of that by hand. That process took a fair amount of time to do as you have to line the layout up, cut pieces as needed then glue and nail it all. By the time we were done yesterday my hands were telling me I am no longer 25...
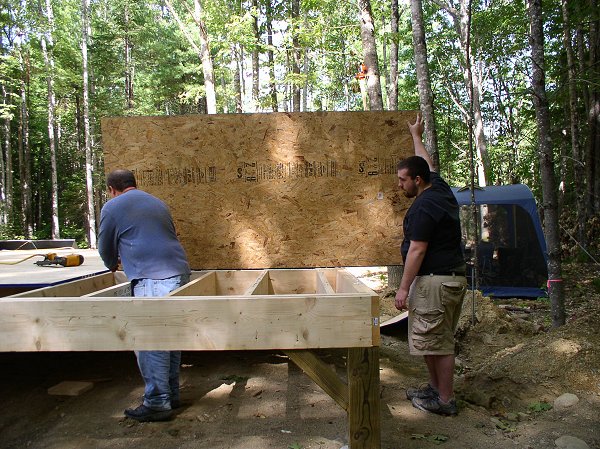
I got assistance from my daughters boyfriend Shane. He was a great help this weekend.

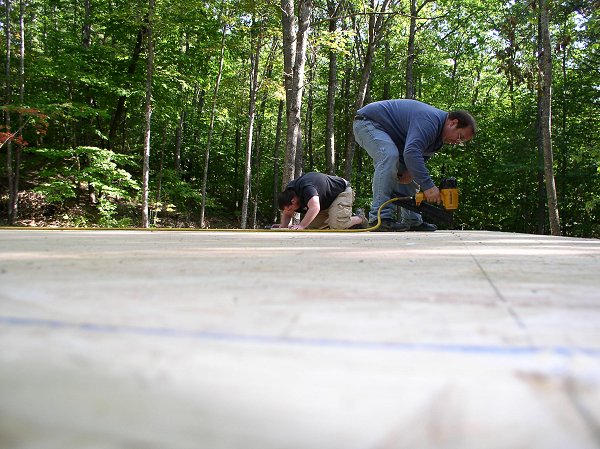
Finally the floor deck is done.
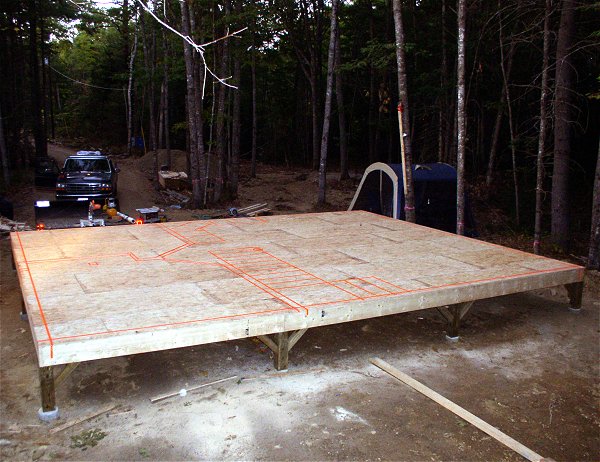
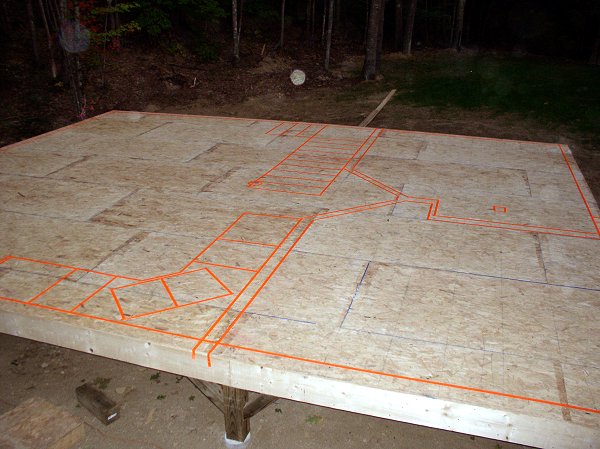
My wife Ginger was excited as now she could actually wrap her hands around what this was really going to be. We then spent the next couple of hours laying out with marking tape(easy to staple and move if needed) all the rooms, stairs and cabinets and such. We altered our plan a bit based on that and what you see in the pictures(orange tape) is the layout we have decided upon.
Well next on our plan is to start building some walls. We hope to have at least a couple of walls built and ready to put up for this next weekend. As long as out weather and such holds we should be good to go.
|

