The Loft
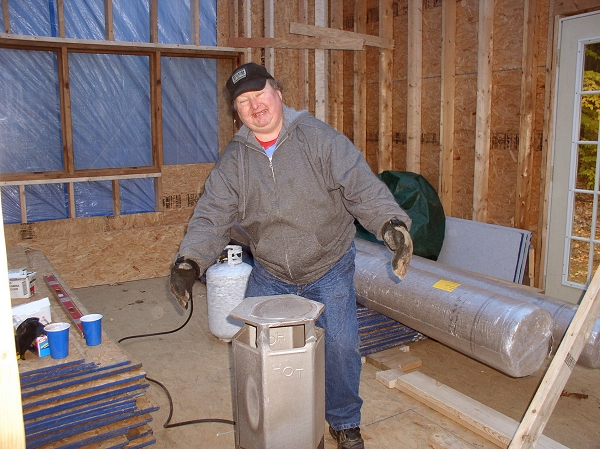
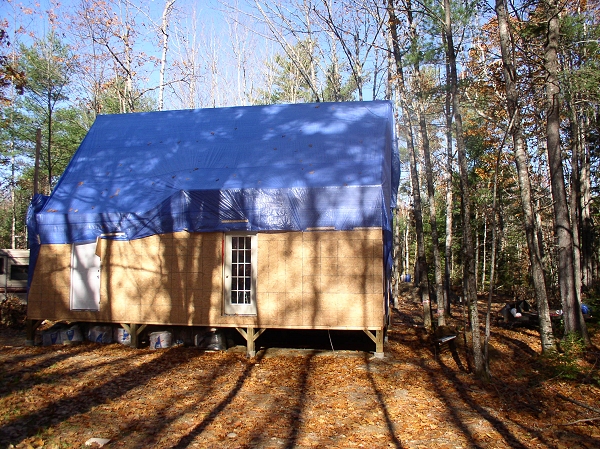
Well it has been awhile since we last were able to work on the house. Between a trip to Illinois to help my son and our regular jobs more time has gone by than we wanted. The weather has also been just as much of a pain in the butt as well. We finally got to work on the house yesterday. And don't you know it had to be bitterly cold(30's) and damp as we had a storm coming in. So with that in mind we went to breakfast in hopes it may warm up a bit but it did not. We got started about noon. By the end of our day (8pm) we had a full blown snow storm going on and the roads home were very slick.
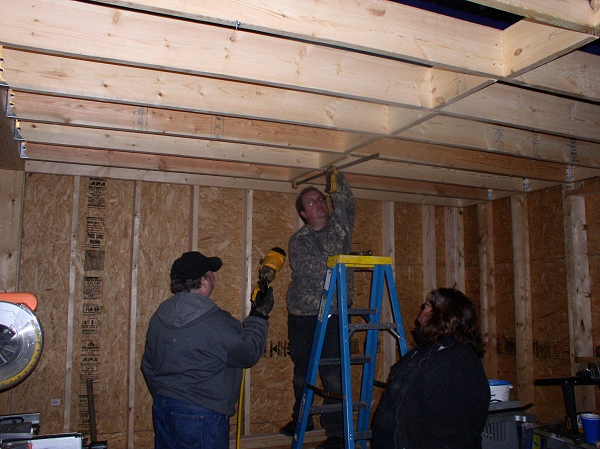
We tried to use a propane heater to keep the area warmed up yesterday but with no real roof in place yet and some gaping holes it was a challenge to stay warm. And yes you see carpet in the background. My wife found a clearance deal on it for only 50 cents a square foot so could not pass it up.
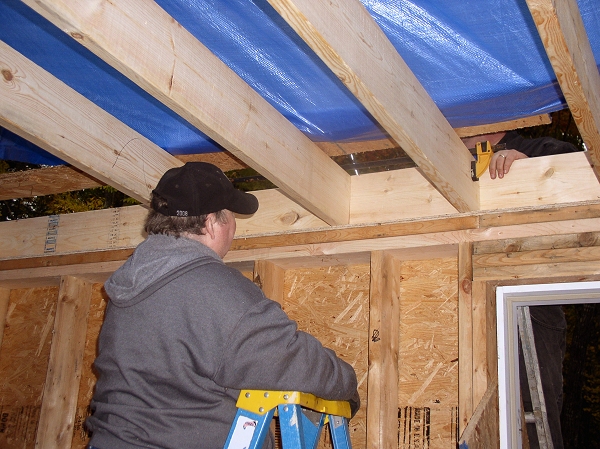
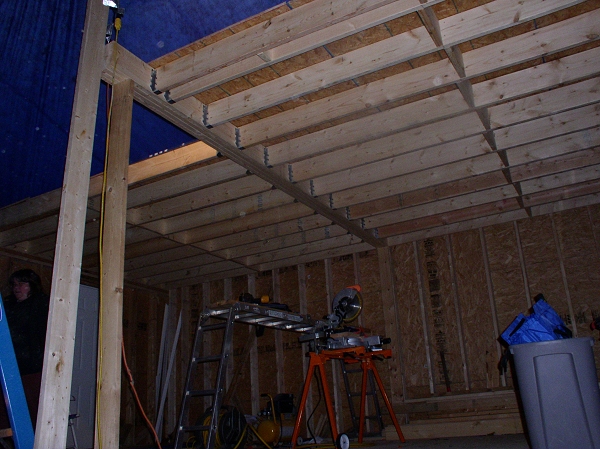
We got our ledger and center beam up and in place with all of the joist hangers. We also placed our two end joists in to square everything up.
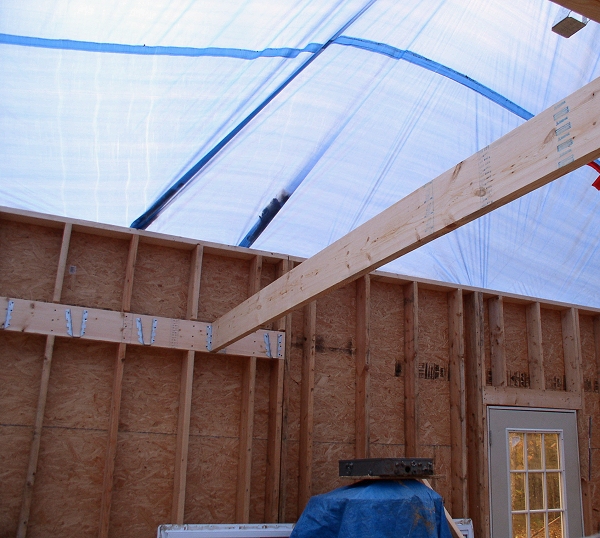
Next we worked on getting all of our other joists in place. After they were in place I then used a set of ratchet straps to cinch the sides and center beam and joist together. Then I could actually secure the joists to the joist hangers. I did this to make sure everything stayed even as it should.
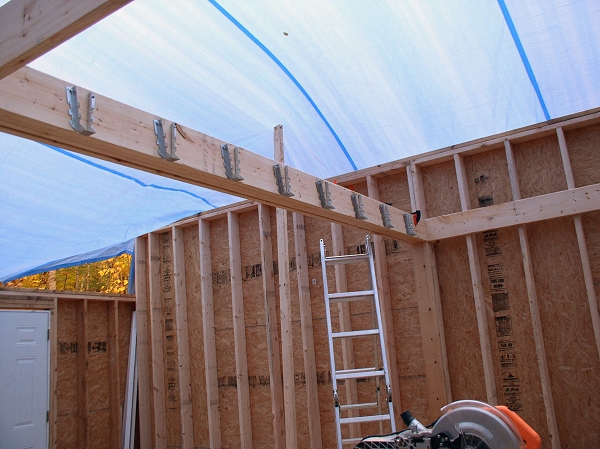
We could then work on the other side of the loft. Now on that side we am acutally going to do a somewhat of a salt box roof effect and will be having a 6-7ft(not sure exactly on height yet) exterior wall. This will provide for much more headroom on that side. That is where our bedroom will actually be. For that I have the joists on that side resting on top of the shorter section of outside wall. Then we will frame up the wall for exterior loft wall on top of that once we decide what we want.
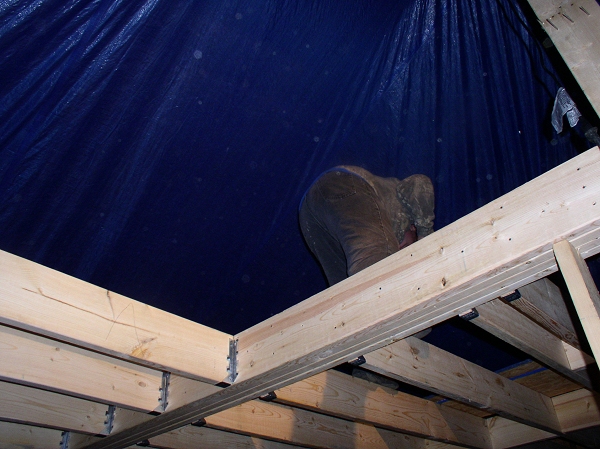
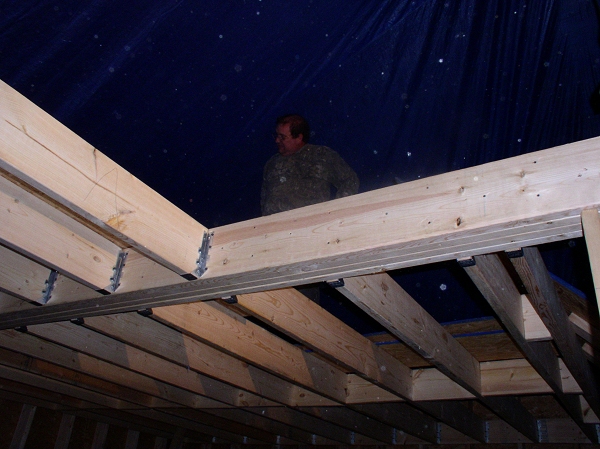
We then got to put in our blocking.
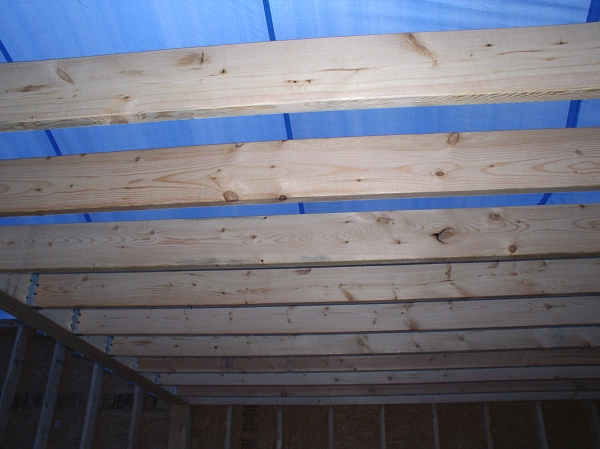
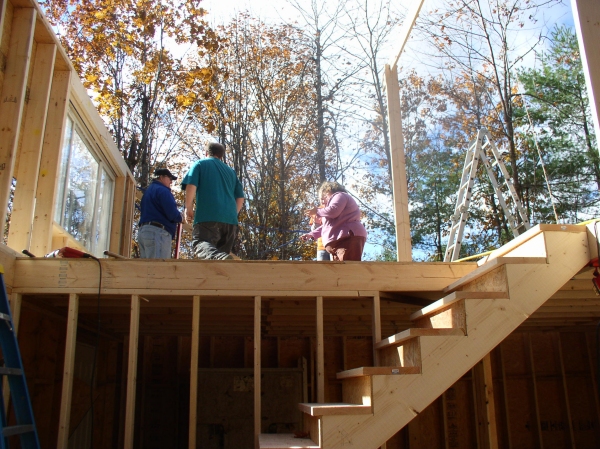
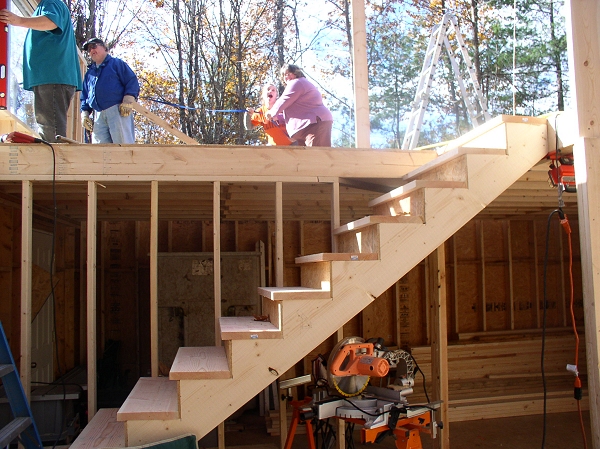
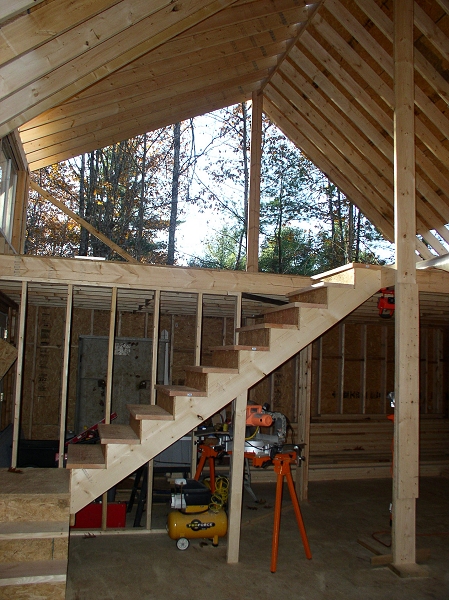
Finally got all the joists up and blocking in and could not resist getting up on it to try it out. Just have to be careful as that first step would be a pain in the..... if you missed.
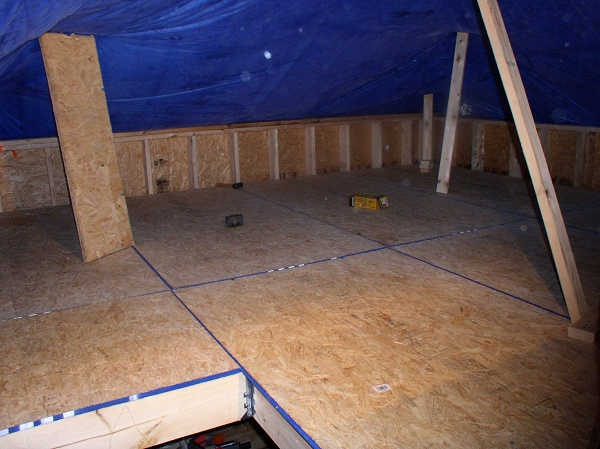
We then got to putting the subflooring up on the loft. Now for this I created a ramp kind of thing for my dad and such to be able to use. I was up in the loft pulling the sheets up. They could then just slide the 3/4 OSB up the ramp easily and it would just then rest on a scrap piece of wood so they would not have to hold it. That worked great and made it alot easier on everyone.
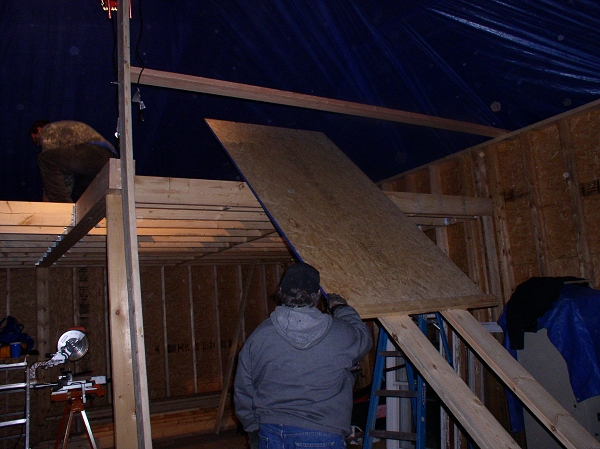
Now given how cold it was and was going to be I decided to wait to glue and nail the flooring. It is supposed to be back up to normal 50's this week. Last night was crappy snow/rain/slush and I think it would not have been a good night for glue given no heat. So for now it is all layed up where it will go and rough cut to length. I will trim to actual length once I get to securing it. Figured I would rather have to cut twice to get it right then once and have it too short.
We are finally done for the night. I think given it was really just my wife and myself along with my mom and dad for assistance we did good to get as much done in the cold as we did. We know that this week will be a challenge to get much done as both of us have heavy work schedules. But with luck we may be able to start on the roof.
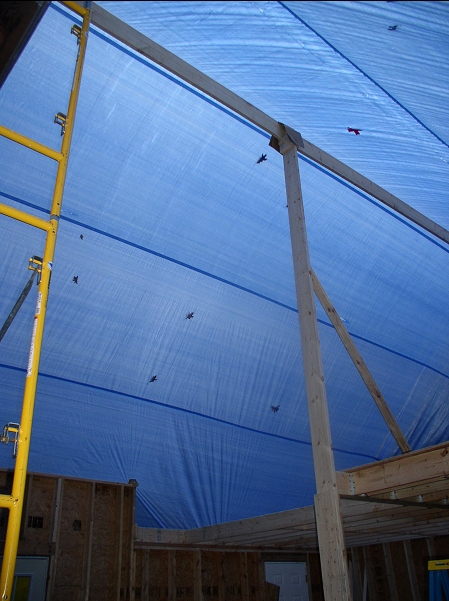
I then had to put in a bunch of braces for the tarped roof to try and keep out the snow/slush/rain crap we have going on. So it looks funny but it works.
UPDATE ON THE TARP
We really doubted that our tarp roof would hold as it was a wet sticky snow and that with a tarped roof spells trouble. We expected to go over this morning and find the tarped roof collapsed but to our surprise it held... Only a couple of water pockets from where the weight of the snow pulled the tarp enough to catch the water. I have since added more poles to push up in the low spots of tarp to keep any further water from pooling up.
Well, we have now removed the original tarp over the house to put up the ridge pole and get ready for rafters. We were not able to get it all done in one night so some stuff did get wet as the rain beat us to the punch. However we did get the tarp back up and secure to keep the inside of the house fairly dry.
11/4/2009 update
Well we had a great weekend last week. We got the balance of the loft flooring all glued and nailed down. We also built and put up the exterior wall and got all the rafters and about 75% of the sheathing in place by late Sunday night.
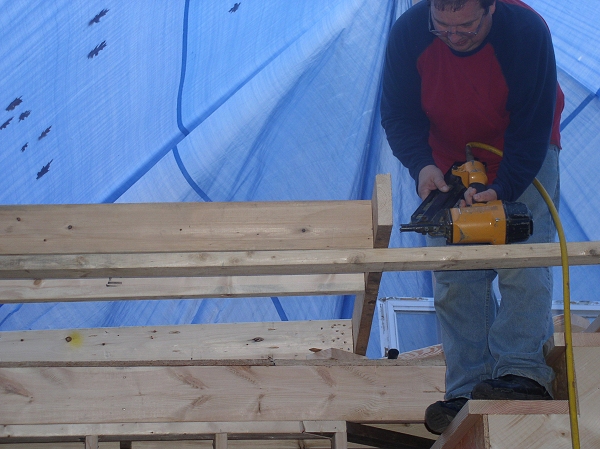
Here I am building what will be the loft exterior wall on the back. We have made it such that our loft area has kind of a dustpan effect. Our pitch on the main house will be 10.5/12 and the pitch on the back of the loft area which will be our master bedroom will be about 6/12.
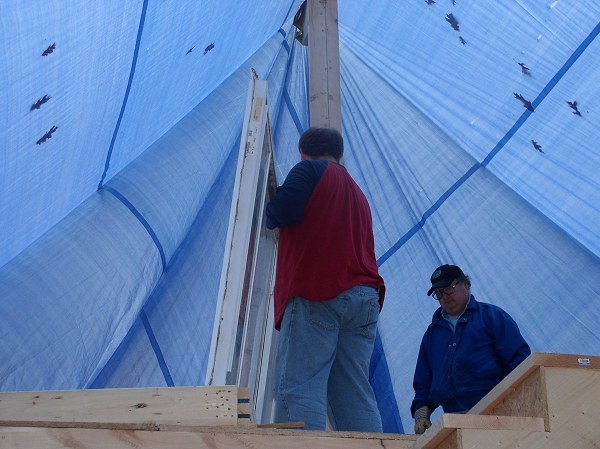
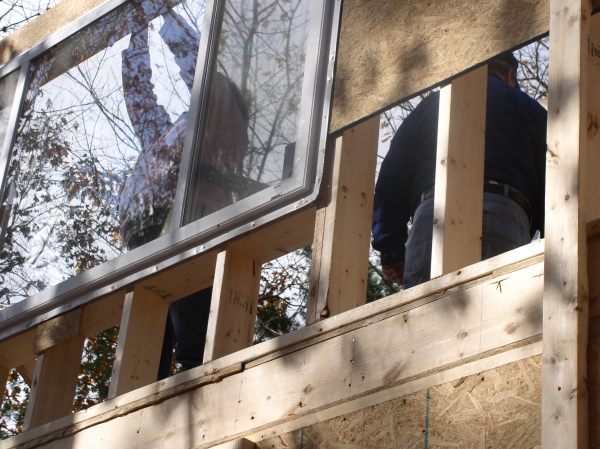
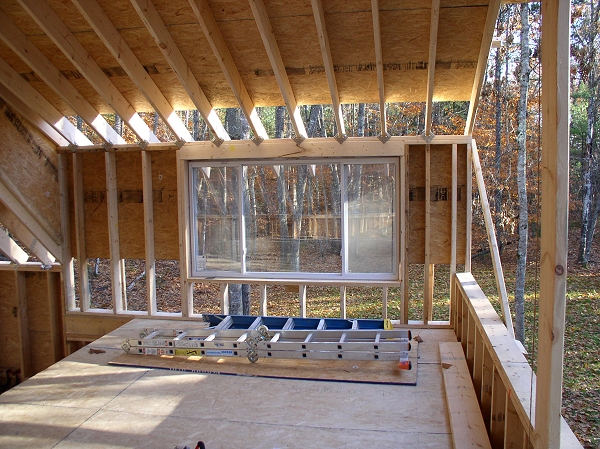
We picked up an awesome used picture window off of craigslist for only $100. It still had the tags on it and had been installed in a shed(what is up with that) for about 6 months. It is over $250 at Home Depot so we think we got a great deal. Here you can see me test fitting the window in the wall on the floor. Wanted o make sure it all fit properly before completing the nailing and putting sheathing on.
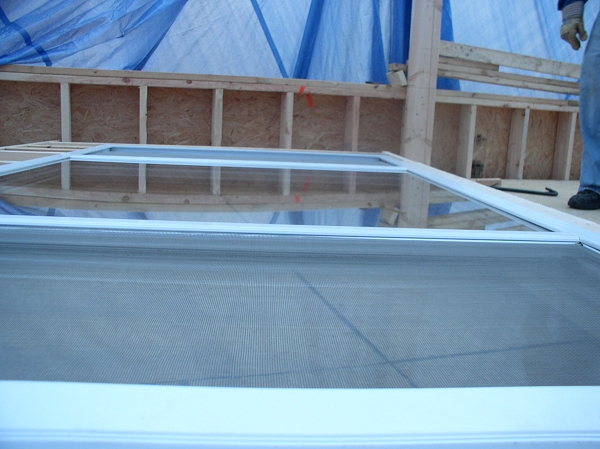
After we completed the test fit we removed the window and completed nailing it all together and putting the top section of sheathing in place. The lower section will overlap the end of the floor joists and top plate so will be put on after the wall is in place.
Now it took all 5 of us(mom & dad, Ginger, Britni and myselft) to get the 14 foot wall complete with its sheathing and window in place. We decided to put the window in on the floor and just loosely attach it. Figured it was a lot easier than trying to lift that thing into place from the outside after the wall was up given it would be 12 feet off the ground or more. So no picture of the wall on its way up.
Here the wall is up and in place.
we did find we had to tweak one end a bit as it was not quite plumb. It was so rigid we had to have my daughter and wife pull on a strap attached to it while my dad and I checked for plumb and nailed it in place. My daughter enjoys being a bit goofy here at times.
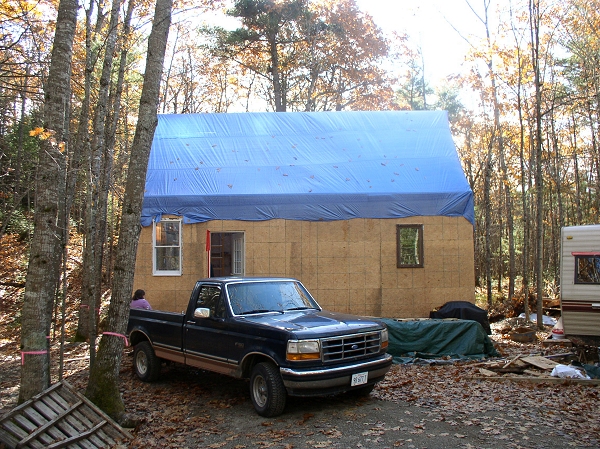
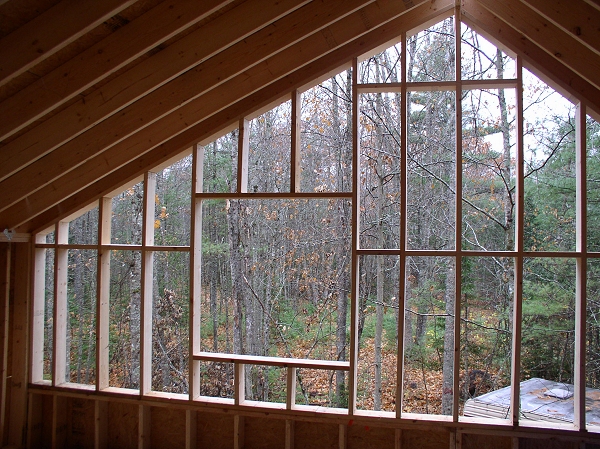
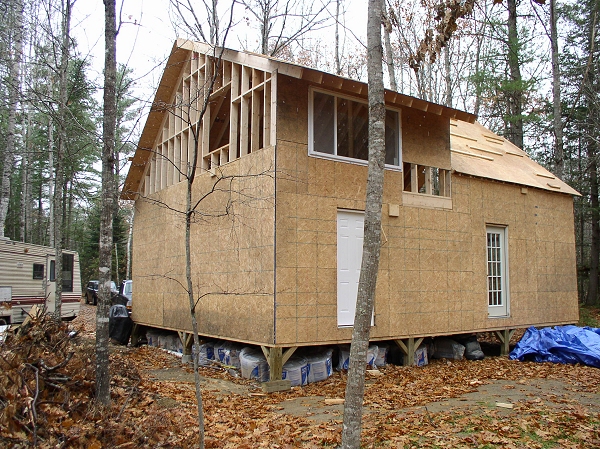
View from outside.
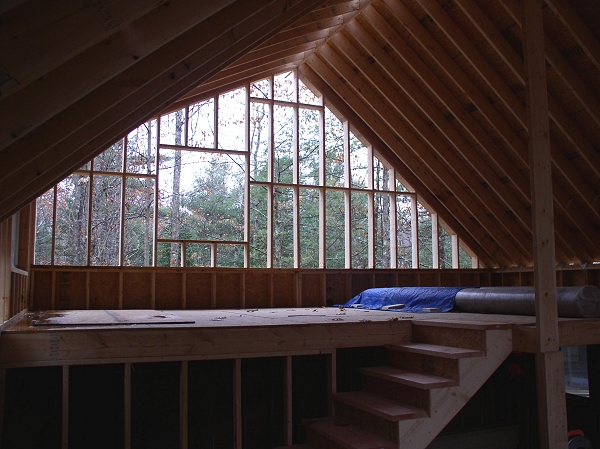
So with that up and in place we really are done with the loft until the rafters are all in place. We did complete that also that day and here is a shot of it after that was all done and the sheathing was started.

After we got all we could get done that night safely here is what it was looking like.
Now we just have to get the rest of the sheathing on and the gables framed and sheathed in.
11/5/2009 Update
Well, the past few nights we have managed to sneak a few hours work in. Now that daylight savings time is over it is now well past dark by the time I even get out of work. Given that and the fact that the past few nights have been very cold not a huge amount was done but we did get some things done.
We got the gable end on the loft side all framed up including the space for the one Egress window we need. Our picture window with the dual sliders did not have a large enough opening to meet egress requirements. Granted I am not in an area of heavy code enforcement it is still the right thing to do for safety sake I think.
Now we need to get the rest of the wall sheathing up.
Update 12/31/2009
Well, we have not been able to work as much as we would like/need to due to holidays and weather. But we have made some progress. Exterior walls are all sheathed in and we have been working on interior walls.
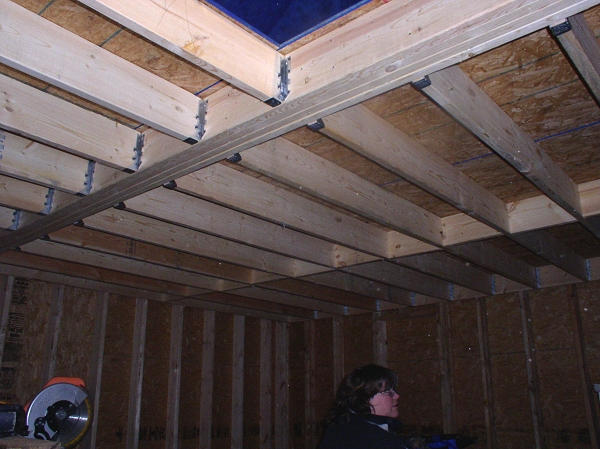
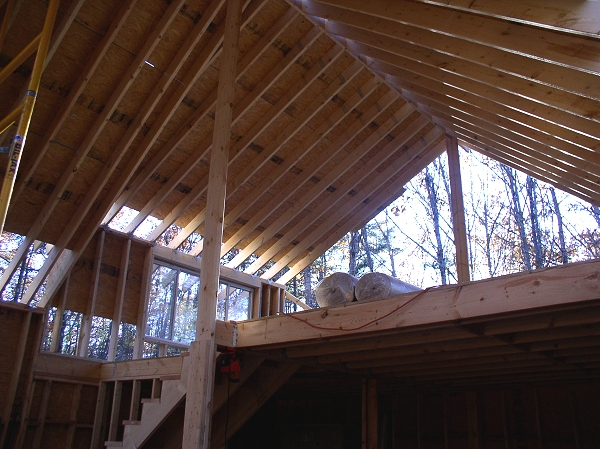
This is a shot of the loft with the interior wall framing and ceiling joists in place.
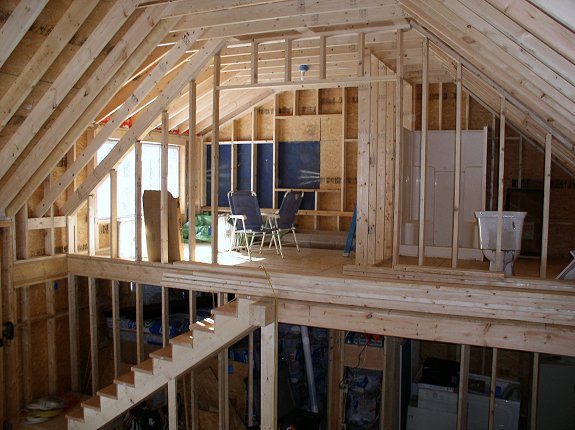
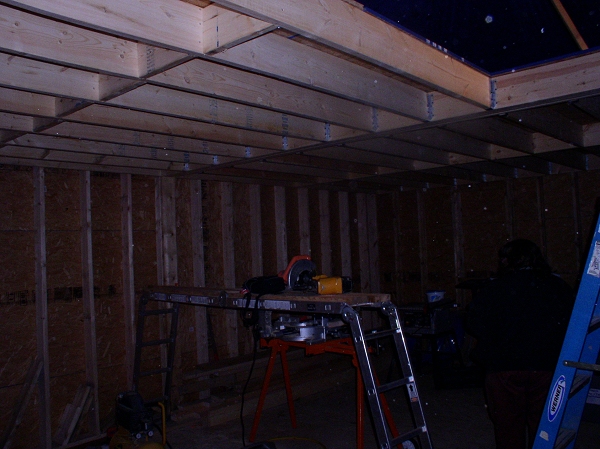
And from another angle
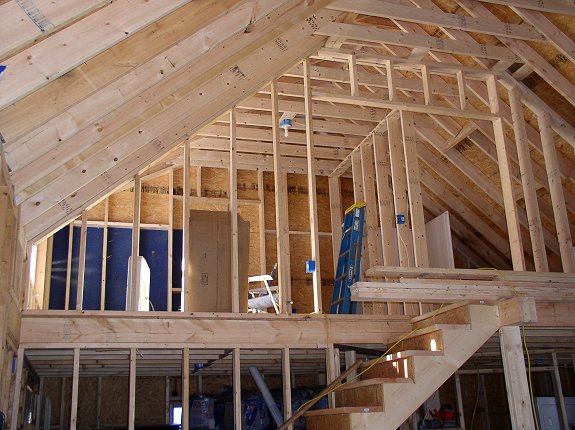
We picked up a skylight for the master bath and if you look carefully you can see the framed opening ready for it in the picture below.
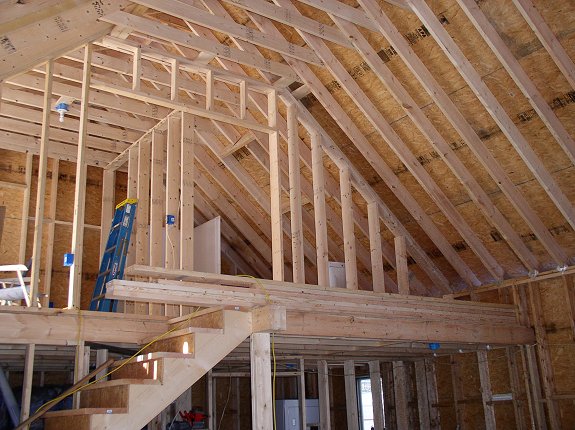
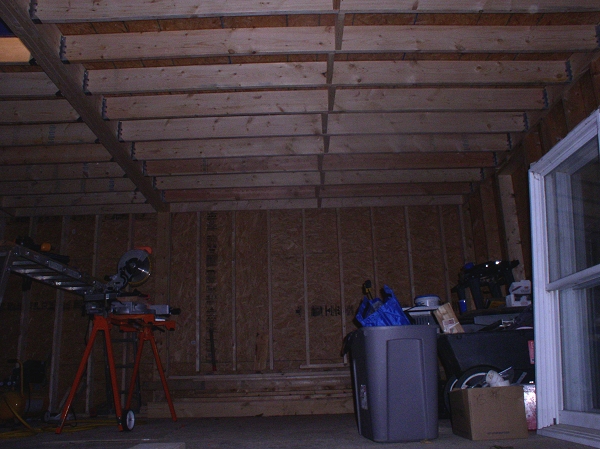
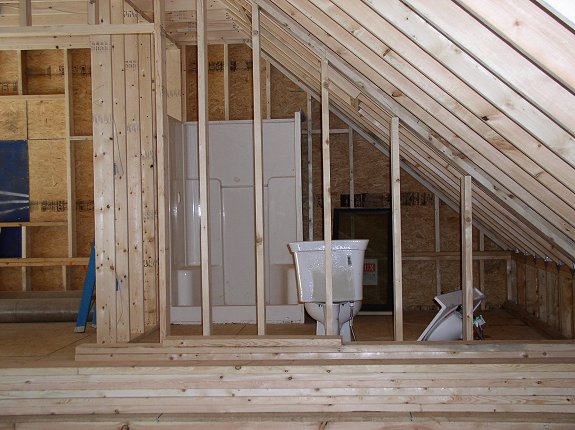
Here is a view looking of the master bath.
|

